Overview
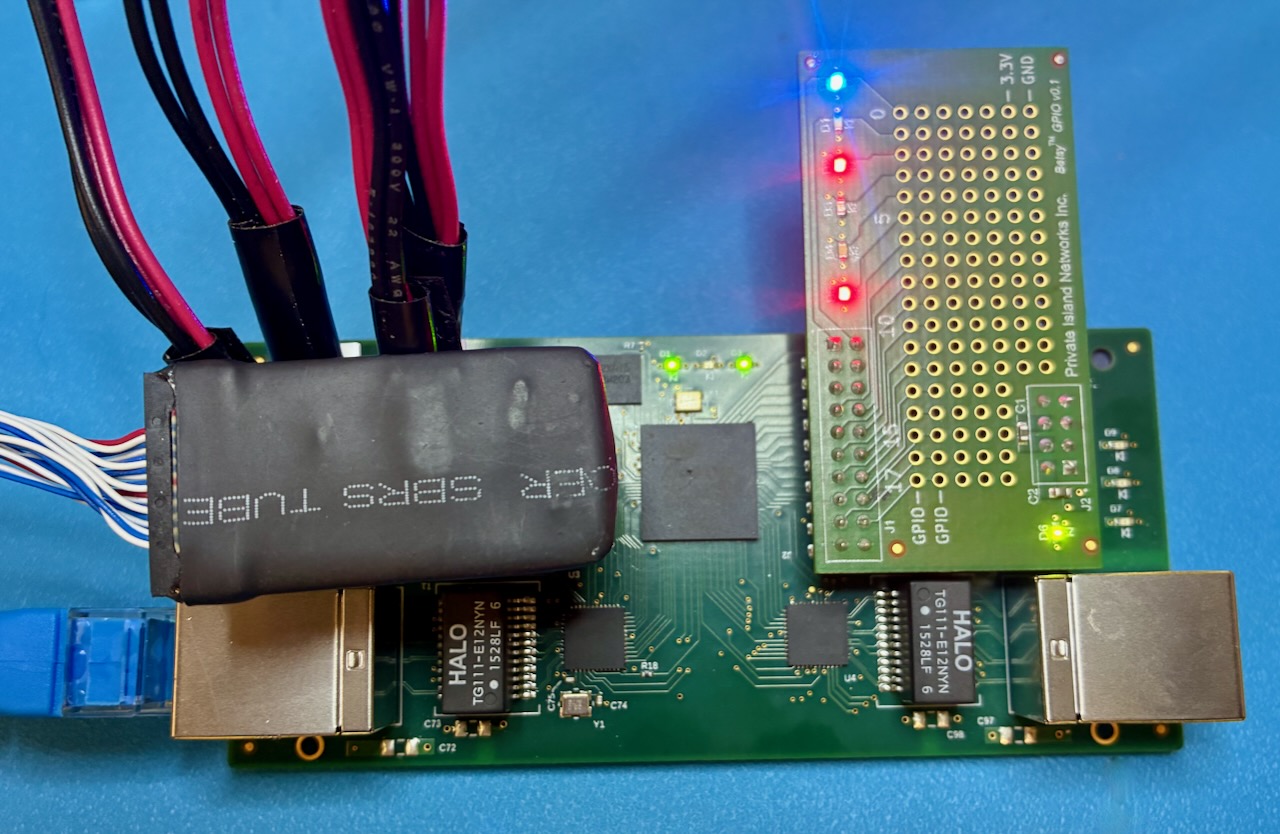
This article reviews the steps taken to add a GPIO bit banging capability to the Betsy™ maker board. This requires various changes to the Private Island ® open source FPGA project. Once complete, the 20 I/O header pins on the Betsy expansion header (see pic below) can be configured as either inputs or outputs and set and queried via the LAN using our PI-EXP open source Web project. This work is being accomplished to support our new GPIO expansion daughter card.
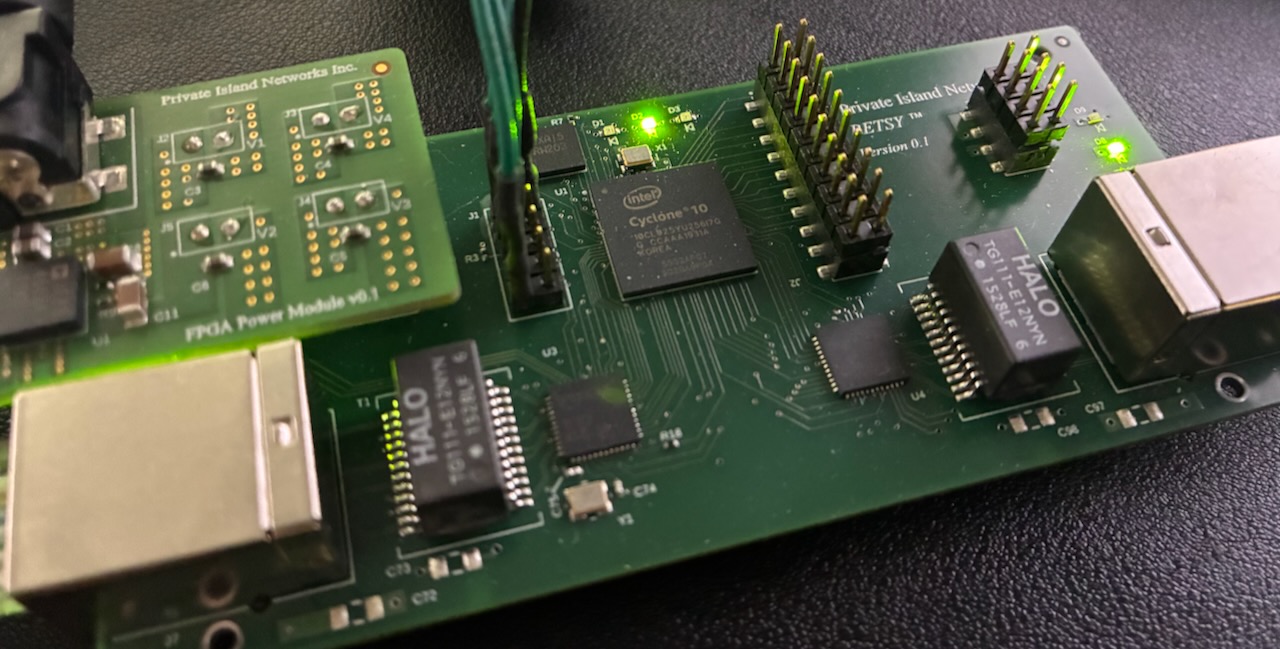
The source code can be found on this website under open source. The Verilog and project modifications are being made inside a gpio branch from the 6e0b5af5 commit. The changes will ultimately be merged back into the master branch to give users the option to either work with the GigE daughter board or the GPIO expansion board.
Consider and strive to follow the Verilog coding conventions described for this project.
Overview of Required Changes
The required changes assume that the project will be built for a particular configuration. At this point, we are not requiring the FPGA logic to detect which daughter board is inserted and have dynamic logic to support different boards. This simplification will result in less overall logic utilization.
Listed below are the required changes (in loose order):
- Define a new Verilog directive GPIO_PRESENT. At first, add this directive to the top of betsy.v and later move it to the Quartus Settings File (*.qsf) for a new project revision.
- Modify the top level port definition to redefine the current PHY2 RGMII interface (e.g., phy2_rstn) to gpio[17:0] when GPIO_PRESENT is defined.
- Make other top level changes to map the gpio I/O to the controller module.
- Create three new top level 18-bit wire vectors: gpio_in, gpio_out, and gpio_out_en.
- Define a 3-state enable variable mapped to the controller that drives 3-state logic using the Verilog conditional operator at the top level.
- Inside controller, define two new 18-bit registers: gpio_direction and gpio_value. The latter register sets the pin state when configured as an output. This register (address) can always be read to query the current pin value.
- Modify the controller logic to support writing and reading these new registers. The gpio_direction register will drive the aforementioned 3-state logic at the top level. Refer to the controller design documentation for guidance.
- Create new controller logic and assignments that connect the gpio_value register to the top level gpio input and output buses.
Prior to testing on live hardware:
- Create a new Quartus project revision for GPIO: betsy_gpio.
- Assign all GPIO IO to the appropriate BGA balls
Detailed Change Description for betsy.v
To be added.
Detailed Change Description for controller.v
Define GPIO register addresses
- Append localparam at line 112
- GPIO_DIRECTION_ADDR = 0x30
- GPIO_VALUE_ADDR = 0x34
Modify message address valid testing
- Modify always block starting at line 274.
- Add logic for the two new GPIO registers.
Modify message response logic
- Modify always block starting at line 374.
- Add logic to read the two GPIO registers.
- When reading gpio_value, the assignment should be the GPIO pin values rather than the register. Add synchronizer registers to minimize metastability.
Modify write logic for internal controller registers
- Modify always block starting at line 702.
- Add logic to write the two GPIO registers.
- The default (reset) value for gpio_direction should be 0 to initialize all GPIO as inputs.
GPIO Expander Daughter Board for Betsy
The GPIO daughter board is shown below. It is an open source design captured in KiCad and hosted on our Git server here. The design is covered by the following license: CERN Open Hardware Licence Version 2 - Strongly Reciprocal